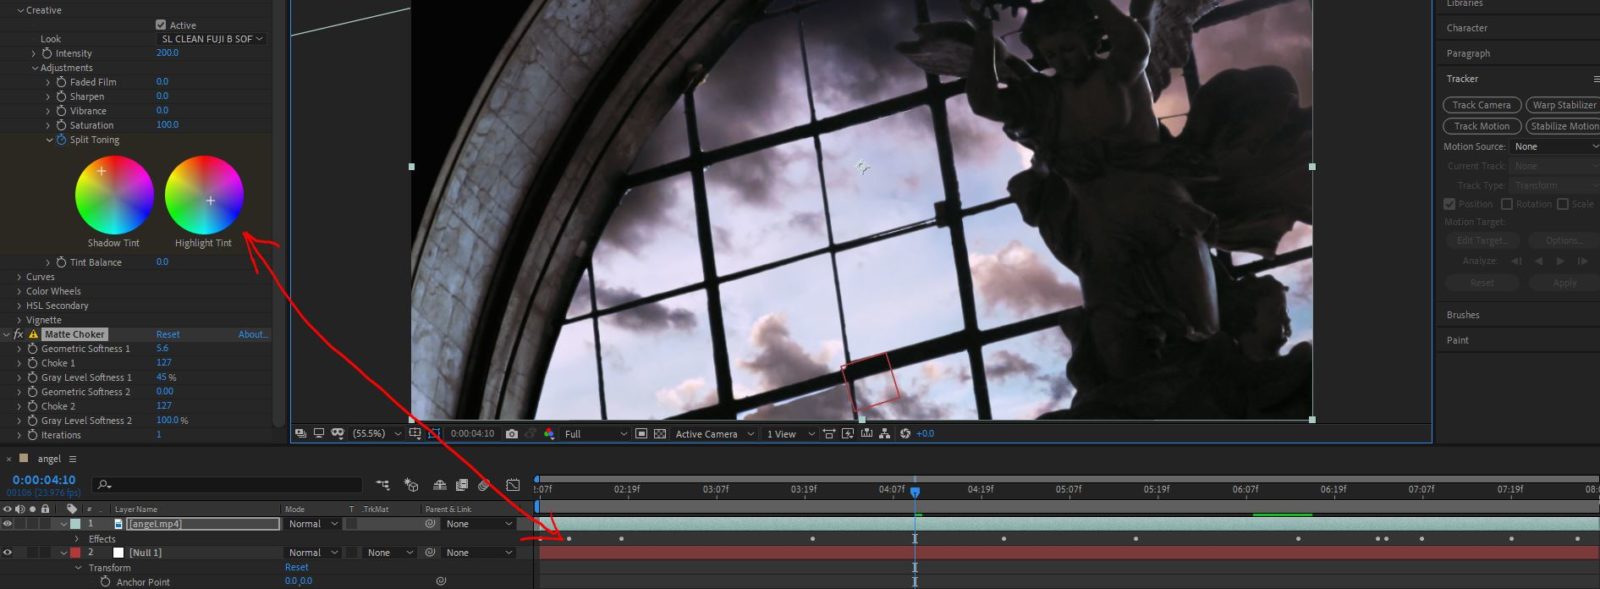
Ready. Set. Matte!
This workshop also had me excited to learn some long sought after skills. I have long had grandiose visions of elaborate set mattes depicting other wordly locations, and assorted fantastical goins-on.
That said, there was no way I could justify dropping a standard sky into a matte background. It was just not motivating enough. So, I knew right away I’d be foraging for my own footage.

Footage obtained. But, after watching the instructional video, and rewinding the bit about the Luma Inverted matte being duplicated to the bottom layer to fix the matte displaying black issue, I’ll admit I was a little frustrated that the instructor simply said that “fixed” it, but didn’t elaborate how. ¯\_(ツ)_/¯
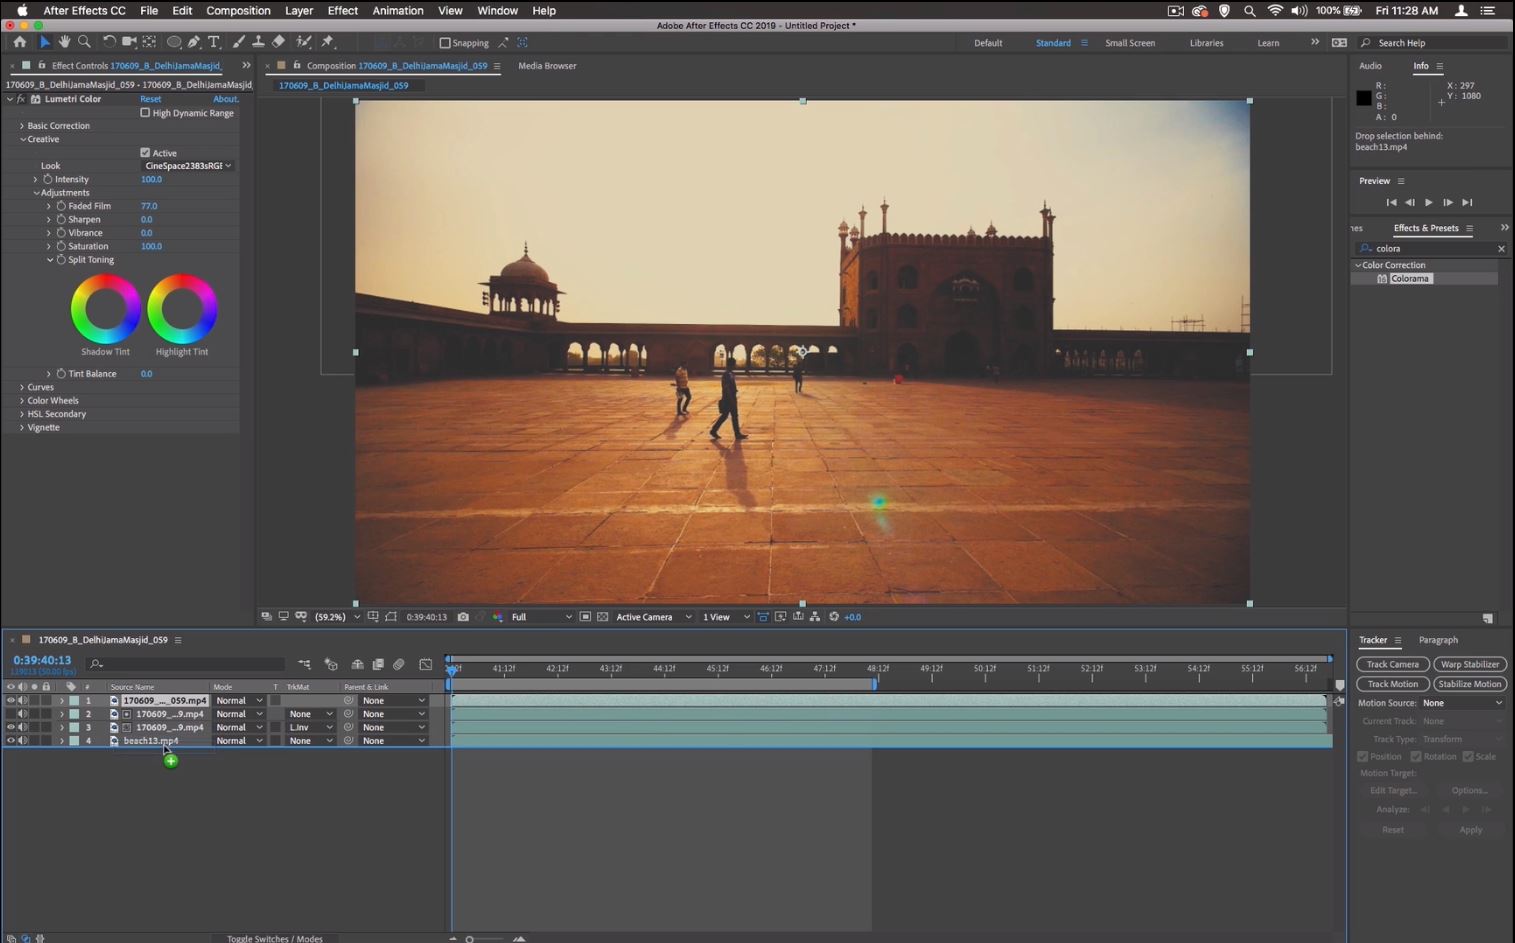
I was determined not to let this gray area slow me down, so when I had the same issue, yet the “fix” didn’t quite work for me, I decided I’d just mask that bit out, which I did. And then I fell down the rabbit hole. I watched a ton of other videos on matte techniques so I could wrap my mind around the problem I was having.
Now I understand the course instructor’s idea of creating a duplicate layer to act as a keying layer, then use the under lying layer as the visible content via the Luma Inverted Map. While I tried my best to recreate the instructor’s steps using my own choices for footage, I admit I resorted to other effects to achieve the same end-result.

For me, the Luma Key applied directly to the layer gave me the best visual result. I still used a Null layer as the target for my tracking data, and parented my background of the moon.
I wanted to throw some bat silhouettes in there, but hey – no free stock footage of bats, the animals. 😛 But regardless, here’s a Spooky Moon for you.
Take Two?
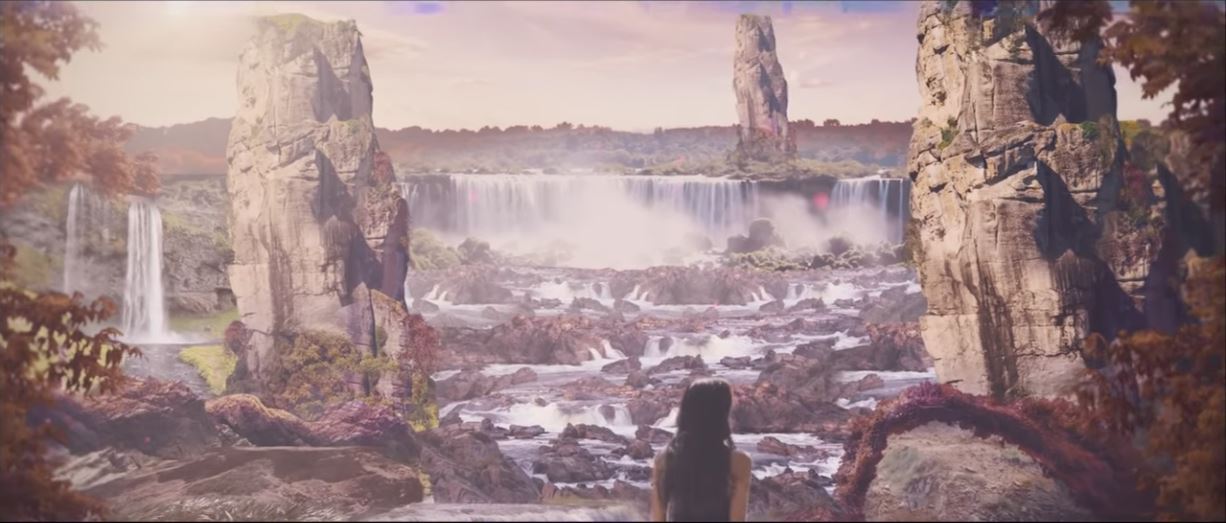
I dunno… That was fun, but I wanted to see what a better sky had to offer, so here goes… this one was intended to be kind of cold and foreboding…? This gave me some additional time to play around with the Lumetri Color controls. I tried animating the Split Toning to make it interact with the changing light of the sky a bit. I even found some free wind sound effects on videvo too!
So, in conclusion, I learned a heck of a lot about keying and matting. I also started to delve into the world of color grading, and most of all learned that technique is often dictated by the task at hand, and can be wildly varied between two different pieces of footage, depending on the lighting, subject, background, movement, panning, yada, yada…