All posts by Noel

About Noel

Noel is an armchair theoretical physicist, philosopher, and Renaissance dude that enjoys multiple forms of self expression. An idealist who realizes that to achieve world peace certain haters need to have their noggins knocked some sense into forcefully.

Taller Number Two

I’m having a bit of difficulty choosing which option to take. In my previous tutorial I did a mashup of Photoshop, Illustrator and After Effects, so technically I feel like it should be In-Design for this go round, yet I’m really not sure that’s the app best suited for me at this time, because I’ve never used it. Seriously. Never. So,maybe next time, I do it for that very reason. But not today.

these doors represent many choices … and a lot of small rooms

Door #1, it is.

I chose to do the Photoshop advertisement because I thought it would make life easier, although I ended up finding it to be quite a bit more difficult than expected. Mostly, it was the matter of keeping it close to ten minutes in length. I tried my best to simplify my goals, but still wanted to try to hit on items not normally covered in your average novice tutorial, such as creating a custom brush and converting text to a shape and editing nodes.

Uh, oh…

Cain statue depicting the original facepalm.

Only after editing the video did I discover many keyboard actions didn’t verbalize or explain, so I needed to add a lot of text call-outs throughout the video, which definitely help. I wish I had a screen capture option to show keyboard actions, but I don’t. I also felt I glossed over tool functions a bit too much for the sake of cramming in more info about the brushes and shape editing. In the long run, I learned a lot about what I would do differently next time. I could have easily stuck with just the shape editing or the custom brush creation. Time is becoming a factor, and starting over is no longer an option :/

Wrapping it up.

OK! After a bazillion re-takes, endless editing, and lots of captioning, I’ve got this down to a manageable length. I did use a couple of assets, which are included below. My previous paragraph was a bit Negative Nelly, but I overcame that to finish this up nicely, I believe. Overall, it was a positive experience, and I hope you enjoy too!

Project Files

Boone the cat, curled and stretching

Train the Trainer

Workshop Numero Uno

Going in, I thought this would be a much easier task than it turned out to be. I’ll be honest, I didn’t keep a good journal throughout the process because I quickly got myself into an endless loop of recording and re-recording my videos until I felt I wasn’t being constantly cringe-worthy. You may still disagree, but I did get it done and this is what I’ve got to show for it.

My intention was to find something that might be inspiring and original, and that could be created using only Adobe CC applications, while at the same time showcasing their individual strengths. I also wanted to highlight a nice workflow between them.

At first, it seemed like too much, and I seriously considered doing only half or a third because I knew that was all that was required, but the whole point for me was to start show the Adobe apps being used as an ensemble so, I persisted.

me and my kitteh

It’s also good to be aware of Actions that can be created to save a lot of time from doing repetitive steps again and again.

Since the video ran close to the ten minute mark, I want to also add that a great reason for doing it this way is that the original Illustrator file can still be edited, an everything is non-destructive.

I hope my narration isn’t too rushed, but I know that pausing and rewinding 10 seconds is a pretty common practice when following tutorials online. Overall, I think this is a cool technique, and you can easily customize it in lots of imaginative ways.

Ah, good old fashioned random blobs

Workshop 5: Science Fiction Double Feature

So, this is the final project in the course. Even though I’ve got other courses lined up and waiting, I’ll admit I’m a little bummed out it’s over already 🙁

For this one, I’ll stick close to home with the project outline, and use the VR girl footage, and try to apply some flair to her ‘hologram’.

I decided to try a couple of things. First, I wanted to pixelate her a little, and then try the glitchy channel separation effect to coincide with the action.

hollow girl vs pixel girl
my money is on the brighter one =)

For the pixels, I created a solid, added a fractal noise set to blocks, and reduced the complexity and sub influence to zero. To make it as pixel-like as possible, I jacked up the contrast, and played with the brightness until I had the right pixel density. I also took care to match the Venetian blind width to the fractal’s pixel width. Finally, I motion tracked the model’s neckline and created a null to target, so I could make the pixels follow the model, which looked much better than un-tracked IMO.

Ok, so I feel like that all looks good. I had issues getting the Venetian blind effect to track, but it is what it is… onward!

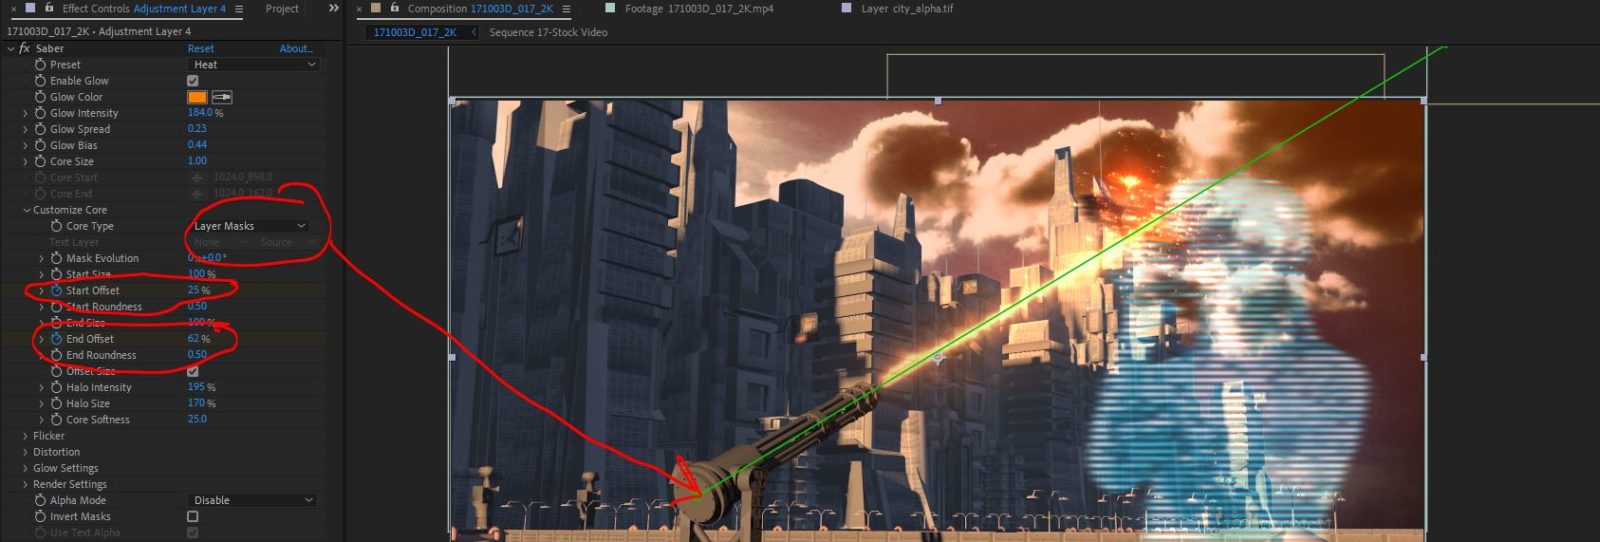
I used my fave ​free plugin Saber again for the turret lasers, and I found a ​free fireworks clip on Videvo that I used for the explosion at the end.

after effects screen capture
pew! pew!

A note for those interested in my laser blasts. The Saber plugin is basically a light saber that’s really easy to keyframe and adjust with near endless presets. To make them laser blasts, I simply drew a path, then applied Saber to it. By messing with the Start/End Offset, I could animate the blasts. I also duplicated the Saber layer and offset it by a few frames to give more action to the turret.

And of course, then there’s the deafening sound of silence of this clip. I just can’t render this without some audio love, so I went back to Videvo and rounded up a laser blast, an explosion, air raid sirens, The Flight of the Bumblebee, and a rusty Merry-Go-Round clip I time stretched for some extra weirdness.

I also time-reversed the sky footage and flipped it horizontally to better match the sunlight on the cityscape. Now on to the render!

And now for something completely different…

so much happening in so little time!

I hope you enjoyed the fruits of my labor! It’s mind boggling what kind of effort can go into making an 8 second clip! I’m sure my classmates would agree 😉

Workshop 4 – Simulating Motion

At first glance, this seems like a relatively doable assignment, and I already have an idea in mind. Since I’m not new to Z space, I figured a Fly Down might look good, and I could also re-purpose the assignment assets.

Ok, so I’m already arranging my clouds in Z space and feeling confident. Now onto the animation… Everything seems to be going as planned. Scrubbing seems to be a pain – even at quarter resolution. Hmm. Now AE likes to crash every few minutes. Going to purge all caches, and see if that helps. Nope. Still crashing. Creating a copy, and going to start removing elements, and see if I can find the culprit.

Welp, unfortunately something is amiss. This project is continually crashing AE on me. Going to have to sign off until I can rectify the sitch….

please stand by

OK, glitch rectified.

And by rectified, I mean I started the whole project over :/

I didn’t figure out where the error was, but at least this go-round nothing acted up. Like I mentioned, instead of the fly through the clouds, I’m doing a fall to Earth, ..er, Pennsylvania, so I used a Public Domain photo of the Pennsylvania capitol, Harrisburg as the drop-zone. I also played with the Graph Editor to attempt to give the fall some realistic physics, although the ending it kind of abrupt. I even got to recycle my free wind clip!

So, after all of that I was able to finish this up in just under a week LOL! I always opt for the rabbit hole approach, and enjoy taking tangents into different aspects of the assignment. I find I retain the info better that way, and also grasp the overall concepts much better.

To sum up what I learned in this workshop, is that PNG files are great to work with on 3D layers, especially with clouds. I’ll definitely use them more frequently now, and sparingly integrate fractal noise/turbulent displacement in for a subtle animation. I was going to add some for this project, but after all the unexpected crashes, I’m calling it wraps. And holy cow this is rendering slowwwwwwwly!

Skyfall

i’m fallin’ for ya

Workshop 3 – Creating a New Environment

Ready. Set. Matte!

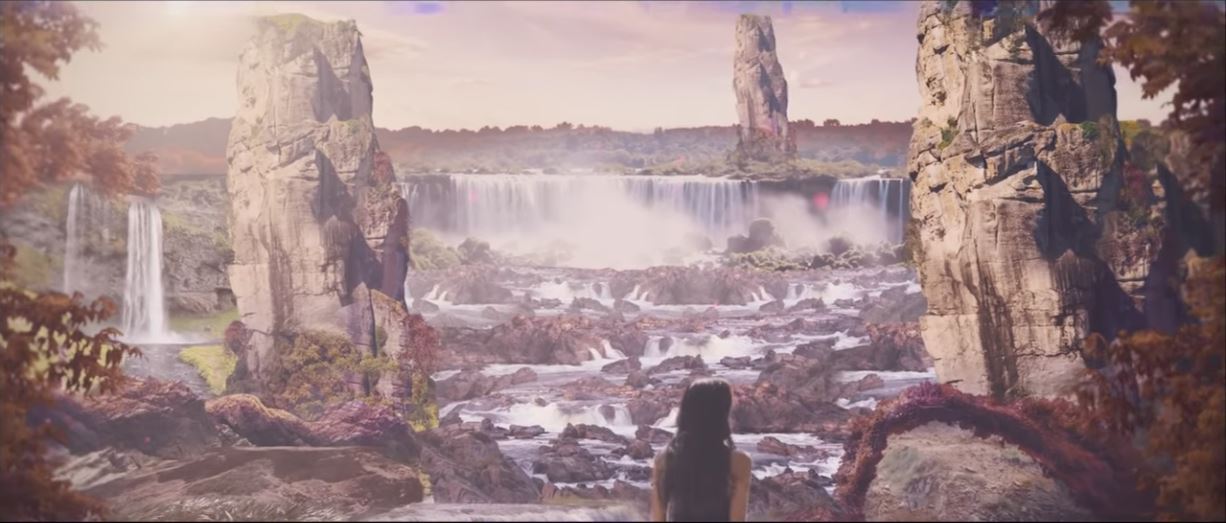
This workshop also had me excited to learn some long sought after skills. I have long had grandiose visions of elaborate set mattes depicting other wordly locations, and assorted fantastical goins-on.

I want to go to there

That said, there was no way I could justify dropping a standard sky into a matte background. It was just not motivating enough. So, I knew right away I’d be foraging for my own footage.

to sky, or not to sky?

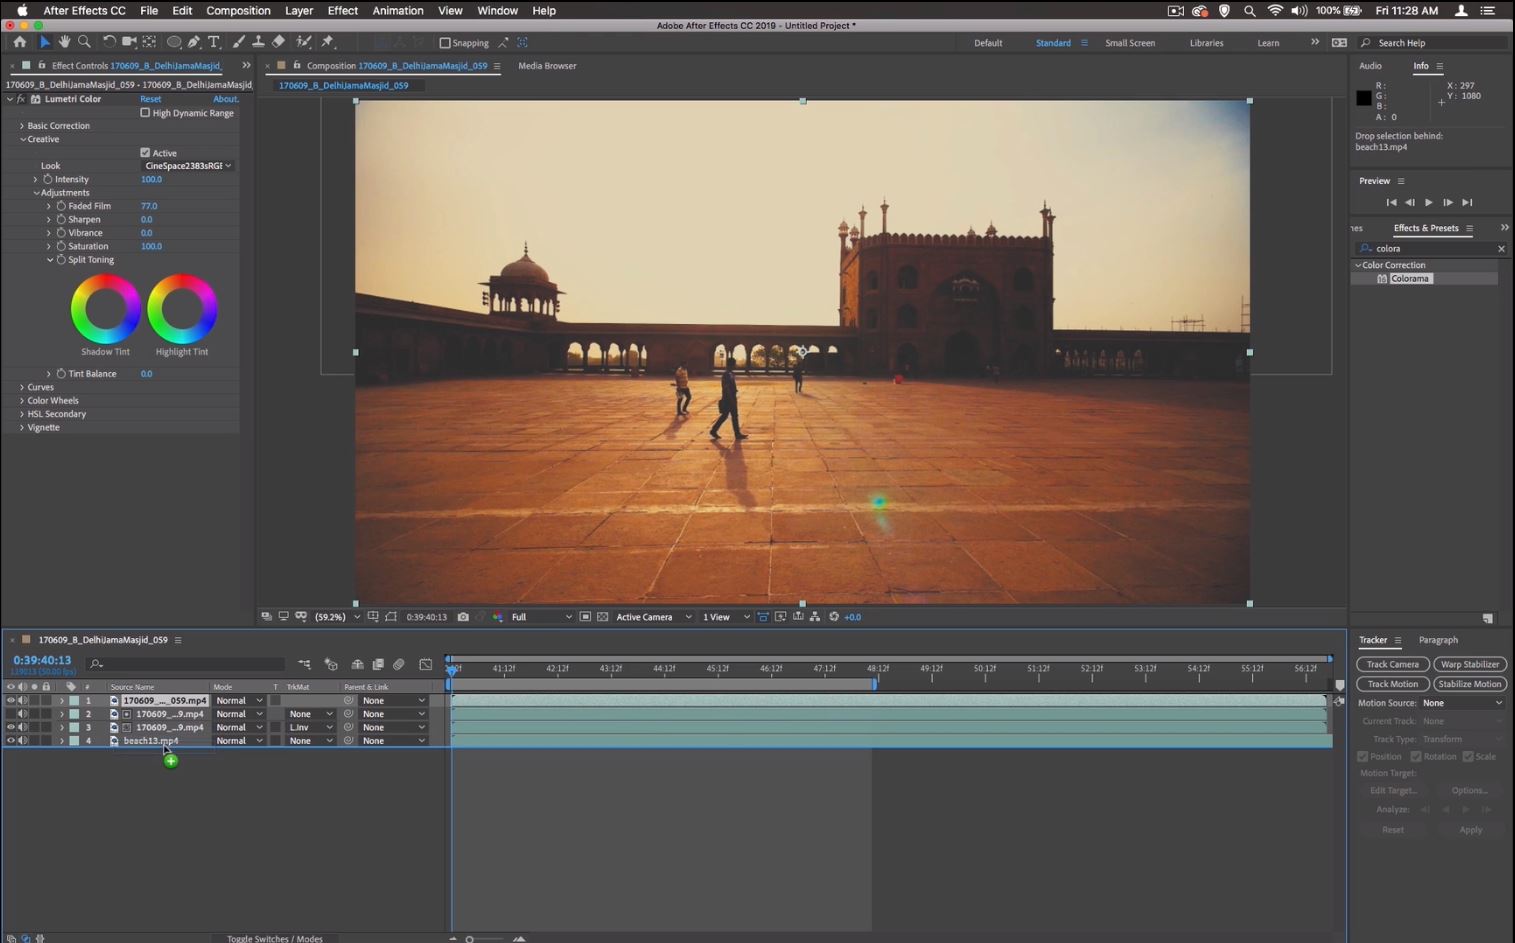
Footage obtained. But, after watching the instructional video, and rewinding the bit about the Luma Inverted matte being duplicated to the bottom layer to fix the matte displaying black issue, I’ll admit I was a little frustrated that the instructor simply said that “fixed” it, but didn’t elaborate how. ¯\_(ツ)_/¯

it’s not magic, it’s just After Effects

I was determined not to let this gray area slow me down, so when I had the same issue, yet the “fix” didn’t quite work for me, I decided I’d just mask that bit out, which I did. And then I fell down the rabbit hole. I watched a ton of other videos on matte techniques so I could wrap my mind around the problem I was having.

Now I understand the course instructor’s idea of creating a duplicate layer to act as a keying layer, then use the under lying layer as the visible content via the Luma Inverted Map. While I tried my best to recreate the instructor’s steps using my own choices for footage, I admit I resorted to other effects to achieve the same end-result.

once upon a midnight dreary…

For me, the Luma Key applied directly to the layer gave me the best visual result. I still used a Null layer as the target for my tracking data, and parented my background of the moon.

I wanted to throw some bat silhouettes in there, but hey – no free stock footage of bats, the animals. 😛 But regardless, here’s a Spooky Moon for you.

Take Two?

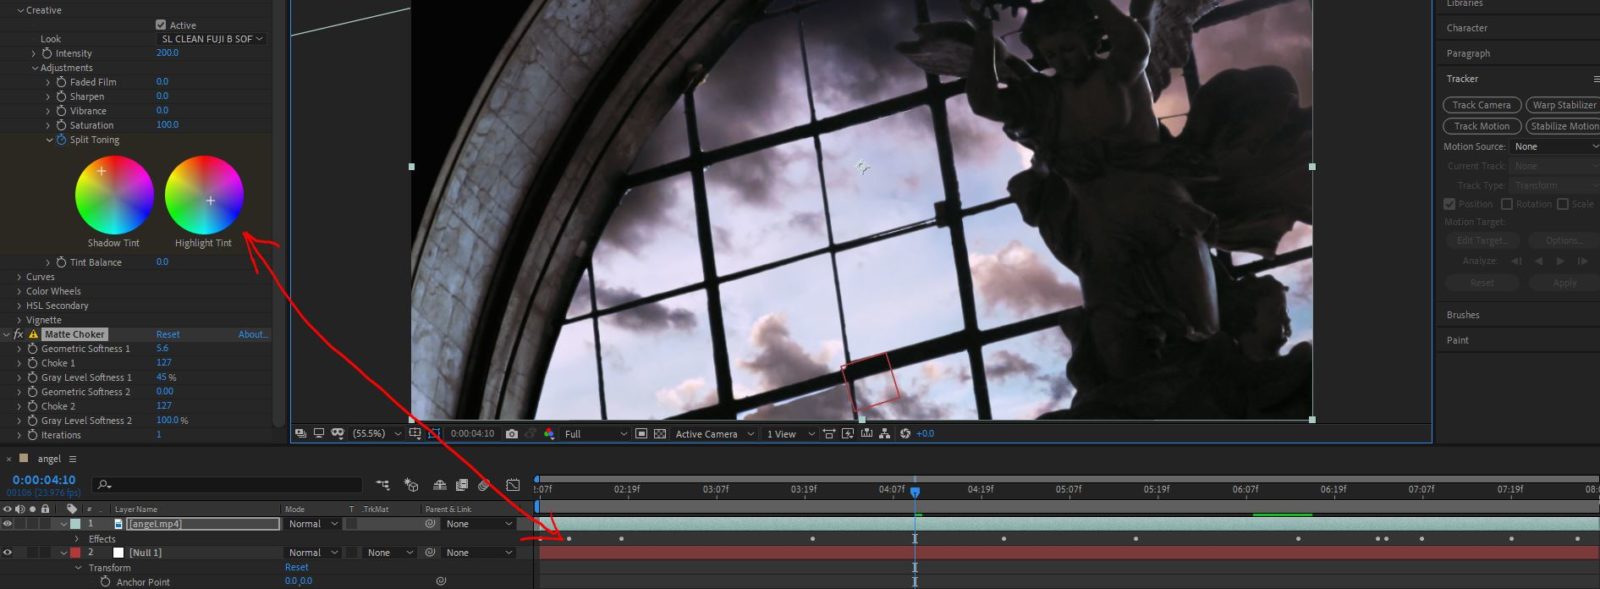
I dunno… That was fun, but I wanted to see what a better sky had to offer, so here goes… this one was intended to be kind of cold and foreboding…? This gave me some additional time to play around with the Lumetri Color controls. I tried animating the Split Toning to make it interact with the changing light of the sky a bit. I even found some free wind sound effects on videvo too!

messin with split tones

So, in conclusion, I learned a heck of a lot about keying and matting. I also started to delve into the world of color grading, and most of all learned that technique is often dictated by the task at hand, and can be wildly varied between two different pieces of footage, depending on the lighting, subject, background, movement, panning, yada, yada…

Workshop 2 – Motion Tracking

Well , this new assignment had me psyched, because I’ve never had much luck with motion trackingin the past and I was hoping this workshop would set me right. I’ll be honest, I’ve already started rendering the submission. But let me rewind for a sec…

…ces a rof dniwer em tel tuB

Last go ’round was the Green Screen workshop, and I was pretty underwhelmed with my result. Let me be clear, I do realize this is an educator’s workshop, so I let my creative side chill and focused on absorbing the curriculum structure.

This time, it was different though. I still kept my own course in the forefront of my mind, but I also let myself go nuts, and look for some free footage, then some free music to accompany it, once I had a concept nailed down.

I’ll keep this journal entry short, but suffice it to say, I’m still not feeling overly confident with the Motion Tracking tool. And I do understand the purpose of both bounding boxes. Grrr!

MY VIDJO EDJUMICATION JOURNAL

Workshop 1 – Green Screen Basics

Okay, I’ll admit I wasn’t prepared for class.

I jumped online one afternoon and thought these Adobe Education Exchange courses looked kinda casual and cool. So, I thought to myself, “I’ll sign up for a whole bunch of ’em!”, which I did. Then the start date for the first one arrived…

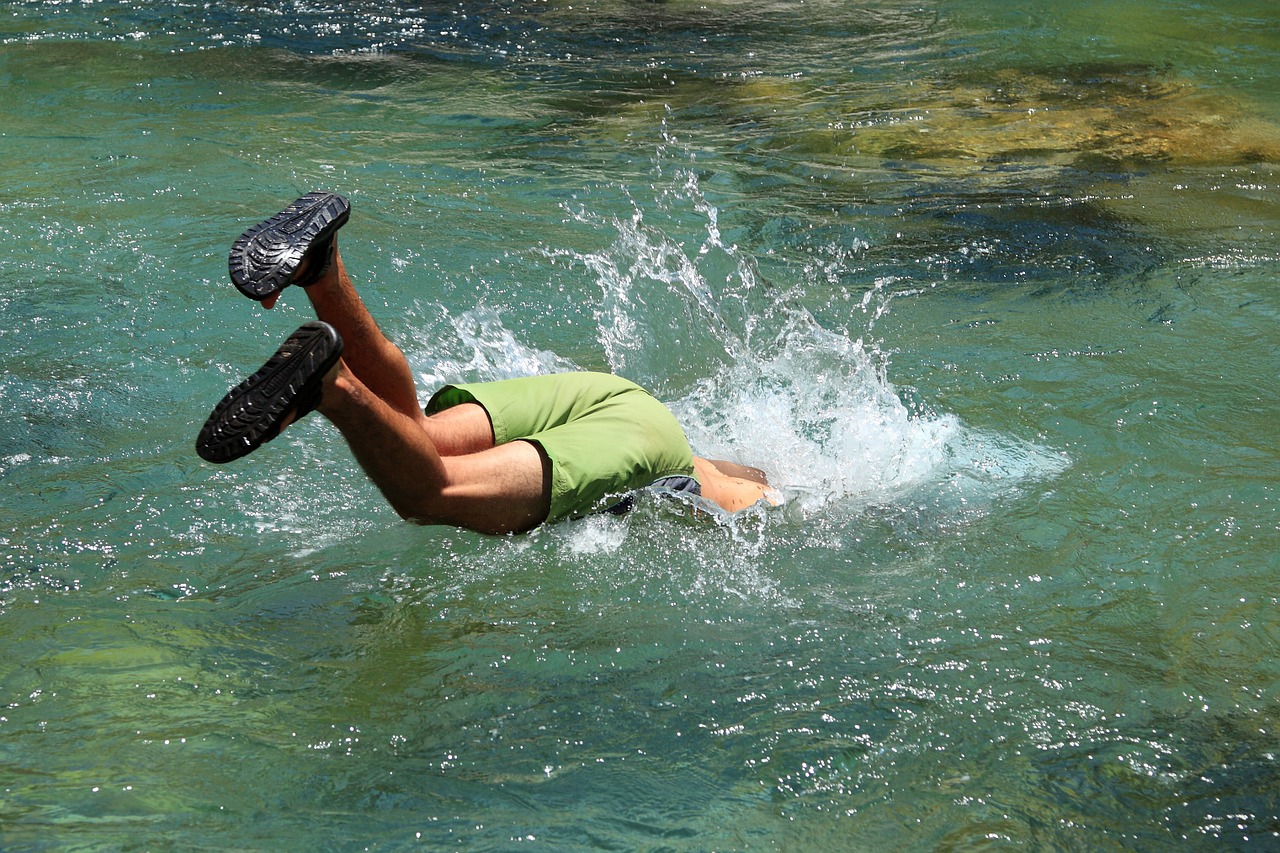
…and Weeeeeeeeeeeee!!!

So… As with most things in my life, I’ve always found a head first approach works best for me. Sink or swim. “Do or do nautilus, there is no try”, I think the saying goes. So with that said, here’s my first green screen endeavor. Well, I have endeavored with green screens before, but only when I had no idea what I was doing. And the results reflected it.

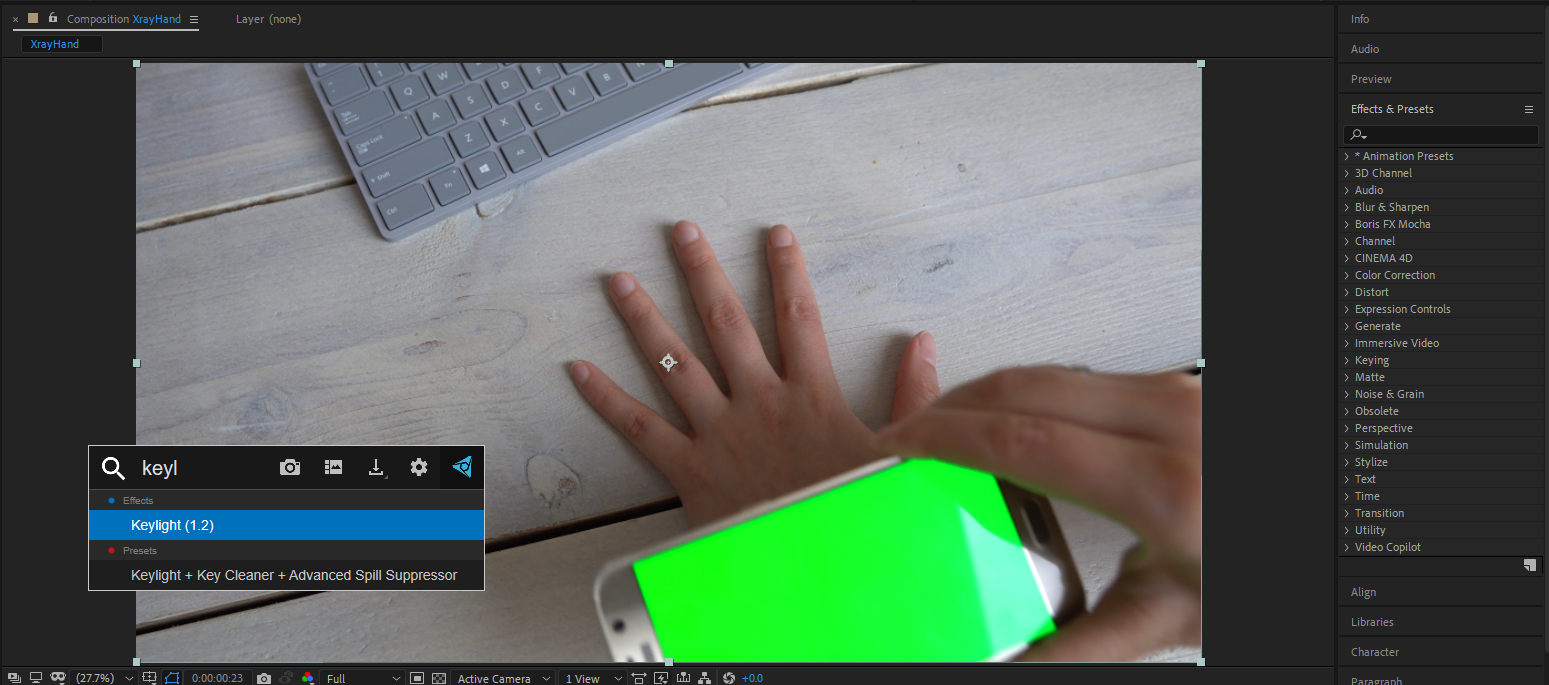
Nowadays? I don’t feel so newbie no mo’. I’m completely self-taught, and relatively proficient – with shouts-out to many online tut creators and giver-backers. Would it be bad to give a shout-out to the time-saving Video Copilot free FX Console plugin every aspiring After Effects artist should have at this time? CTRL+Space, and BAM! That’s what I’m talkin’ ’bout.

shameless FX Console Plugin plug

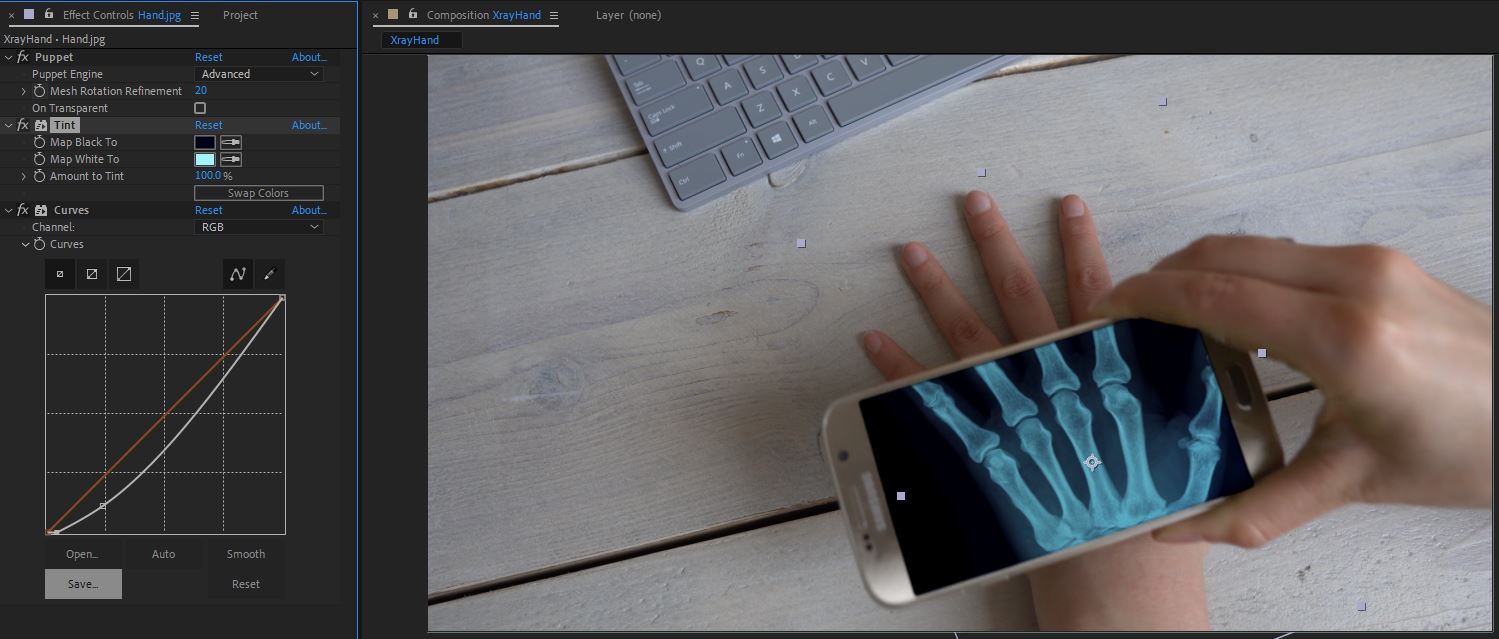
Ok, I think I’ve killed enough time waiting for the project assets to download. On with the show! This task seems like it should be pretty easy, but I’ve never puppet pinned before. It seems pretty straightforward like a Photoshop of Illustrator Warp tool, so we shall see…

My worry about the puppet tool was unfounded. Super easy to finangle and get just right. I just feel like it needs that little something extra before I submit it though. Hmmm, what to do?

you gotta hand it to me, cuz I got the power!

I decided to add some energy emission to the hand using a free plugin effect called Saber, also by Video Copilot. First I did some masking and had the “sabers” travel the mask path too. Might have been a little overkill, but I still dug doing it.

And now for the moment you’ve been waiting for…

So there you go, my first stab at a “proper” keylighting. I hope it was worth the 7 seconds of your time… it did cost considerably more seconds of mine, but it was lots of fun 😛